
If you are planning to buy new windows for your home in the Mile-High City and you are thinking of doing some DIY, replacement window tips are what you need – here are a few ideas to help you make the most of your DIY replacement window Denver project.
The Tools of the Trade
No DIY project can be successful without the right tools. Fortunately, window replacement can be successfully completed with the tools that you find in a standard tool box – here are the most important devices and tools that you will need:
- Safety gear – window replacement usually involves moving relatively large objects and working around sharp edges, so while working on your windows, you need to wear proper safety equipment that includes gloves, glasses as well as a helmet.
- A caulk gun and caulk for fixing the new windows into their respective openings.
- A pry bar, hammers and screwdrivers for the removal of the old windows as well as for the installation of the new ones.
- Power tools, such as a power drill or a power driver to make work easier,
- A sharp putty knife and a utility knife.
- A level and measuring tape to make sure everything is perfectly sized and straight.
Making Accurate Measurements
After you have decided what type of window will work best for your goals, you should go and buy your windows, but to be able to do that, you will need to know exactly what size to buy. You will need to measure your old windows, but one simple measurement is usually not enough. To be sure that your measurements are accurate, measure the height as well as the width of the old window in three points, one on the top, one in the middle and one on the bottom and take the smallest measurement as reference.
Getting the Old Window Out
You will need the pry bar, the knives and the screw driver for this operation. Remove the sash and if the window has sash chords and weights, take them out as well. Try to be as gentle on the plaster and on the wall as possible to save the hassle of having too much to reconstruct later.
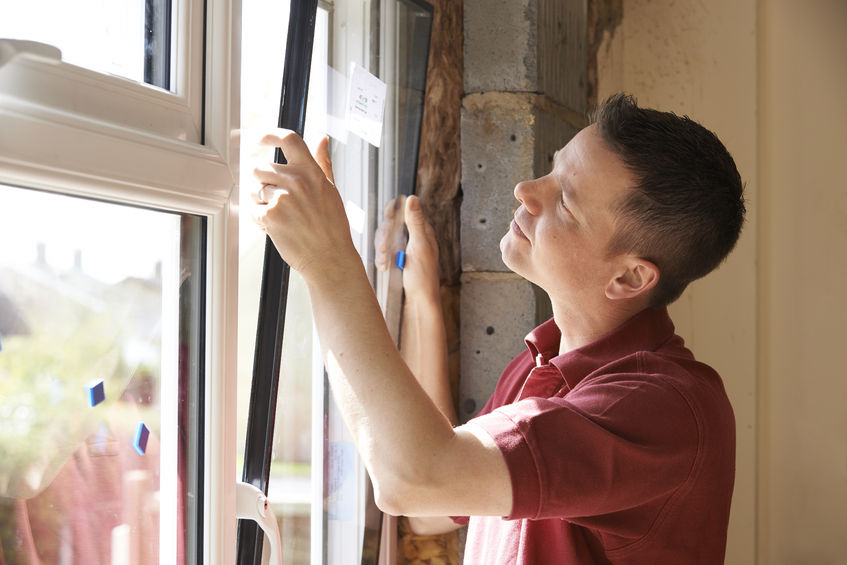
Test-Install the New Window
Clean the empty window opening, then free the new window from the clips and other items that served only the purpose of safe transport. Place the new window into the opening and make the necessary adjustments to level it out. Grab a pencil and mark the exact place where you want your window to be, then fix the window into place with the screws provided by the manufacturer. Test the quality of your work by opening and closing the window a few times before you caulk it in. If both operations go smoothly, fix the window into its place with caulk. Wait until the caulk is dry before you finish the wall.
For enthusiast of DIY, Denver window replacement is surely a challenging project – we hope that with these tip, you will find it rewarding as well.